- Bosque Moon Shot Repair
- The Blog is the Bomb!
- Jim Neiger Osprey Heaven and Custom Anytime Workshops
- The New Canon EF 100-400mm f/4.5-5.6L IS II USM Lens
- Selling Your Used Photo Gear Through BIRDS AS ART
|
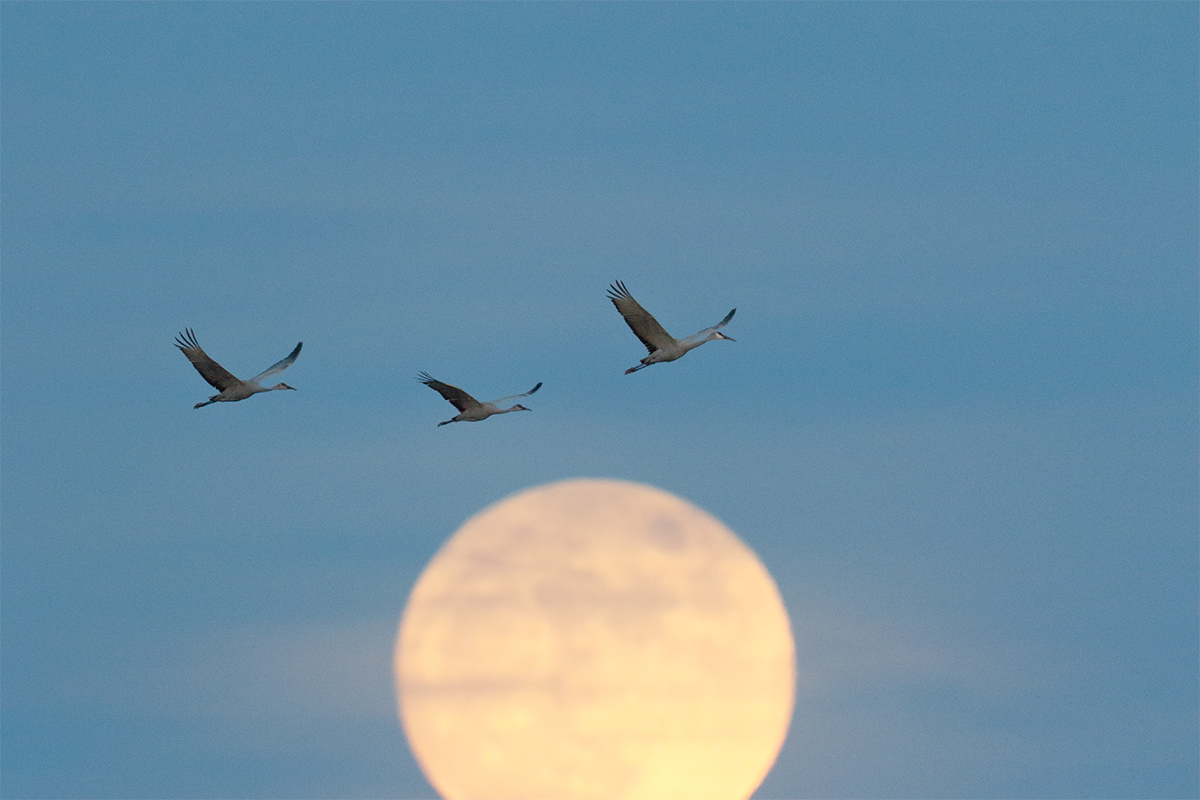
This image was created at 5:00pm on Friday, DEC 5, 2014. I used the Gitzo 3532 LS carbon fiber tripod), the Mongoose M3.6 head, Canon EF 600mm f/4L IS II USM lens, the Canon Extender EF 1.4X III, and the Canon EOS 7D Mark II. ISO 3200. Evaluative metering +2/3 stops as framed: 1/500 sec. at f/5.6 in Av Mode. Color temperature: 7000K. 65-Point Automatic Selection/AI Servo Rear Focus AF as framed activated an array of 2 AF points that caught the last crane and were active at the moment of exposure. Click here if you missed the Rear Focus Tutorial. Click on the image to see a larger version. Frame one of a 2-frame sequence… |
Bosque Moon Shot Repair
Frame 1
I acquired focus as the three cranes flew towards the moon and fired off a two-frame sequence even though I knew that I was clipping the bottom of the moon….
|
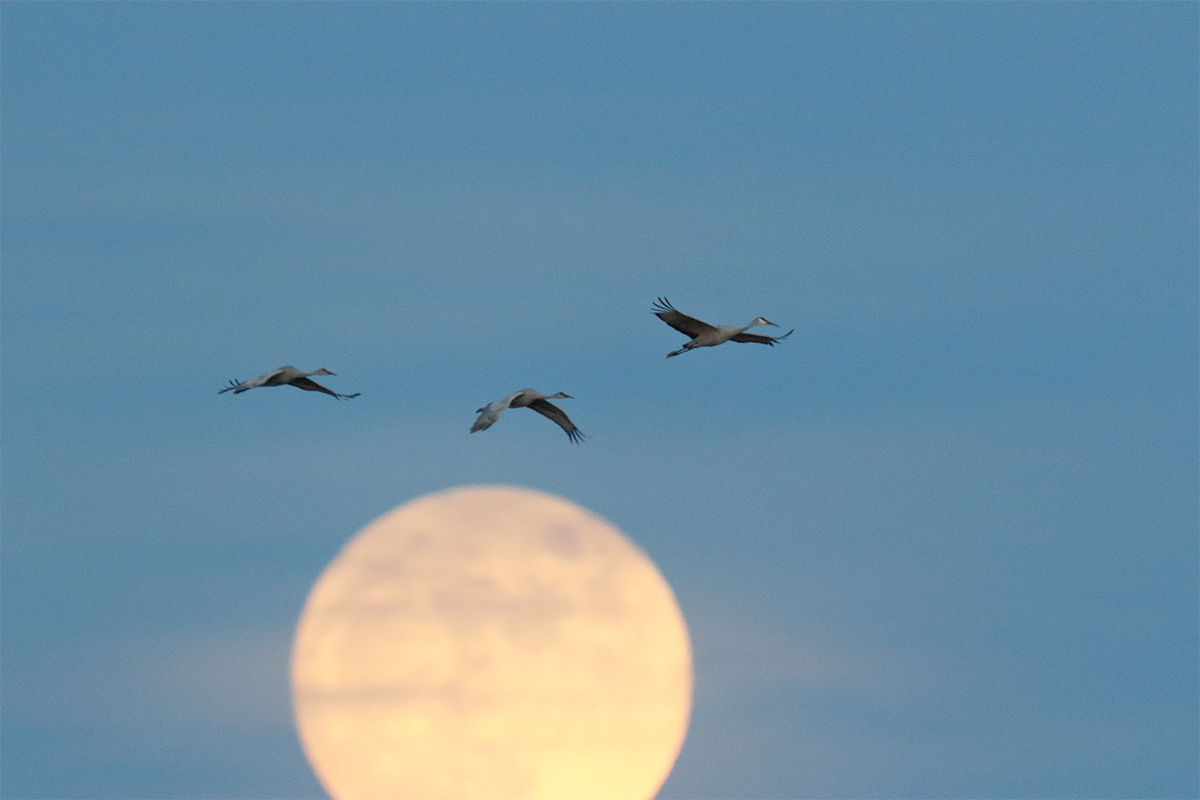
Same as above except that 65-Point Automatic Selection/AI Servo Rear Focus AF as framed activated an array of 4 AF points two of which caught the first crane. All four sensors were active at the moment of exposure. Click here if you missed the Rear Focus Tutorial. Click on the image to see a larger version. Frame two of a 2-frame sequence… |
Frame 2
This is frame 2 of the 2-frame sequence. Again I clipped the bottom of the moon…. What to do?
|
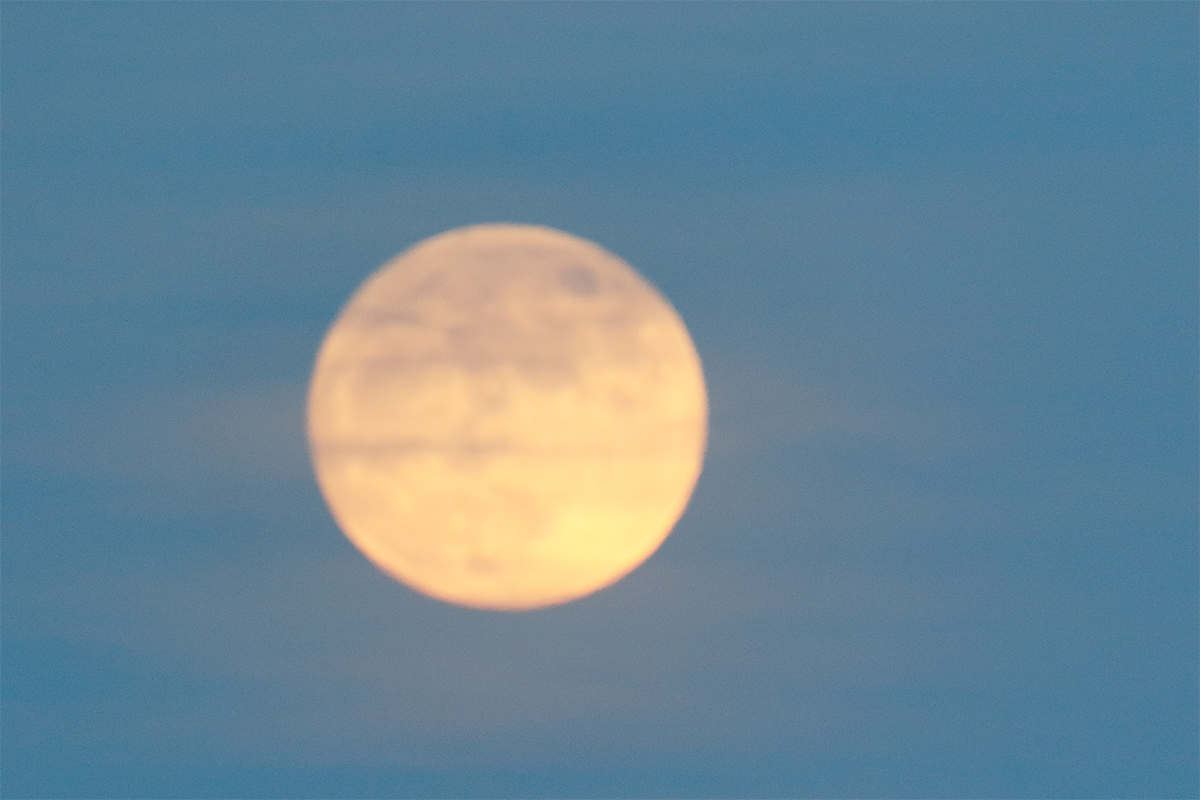
All the same except: ISO 3200. Evaluative metering +2/3 stops as framed: 1/640 sec. at f/5.6 in Av Mode. Color temperature: 7000K. This is the source moon image. |
What to do?
Obviously you need a frame with the whole moon. It is imperative that the moon be as out of focus as it was in the 2-frame sequence. Using rear focus makes that easy. Once you see that you have clipped the moon it is imperative that you do not re-focus when creating your source image of the moon.
Exposure Change Question
Why did the exposure change from 1/500 sec. to 1/640 sec.?
|
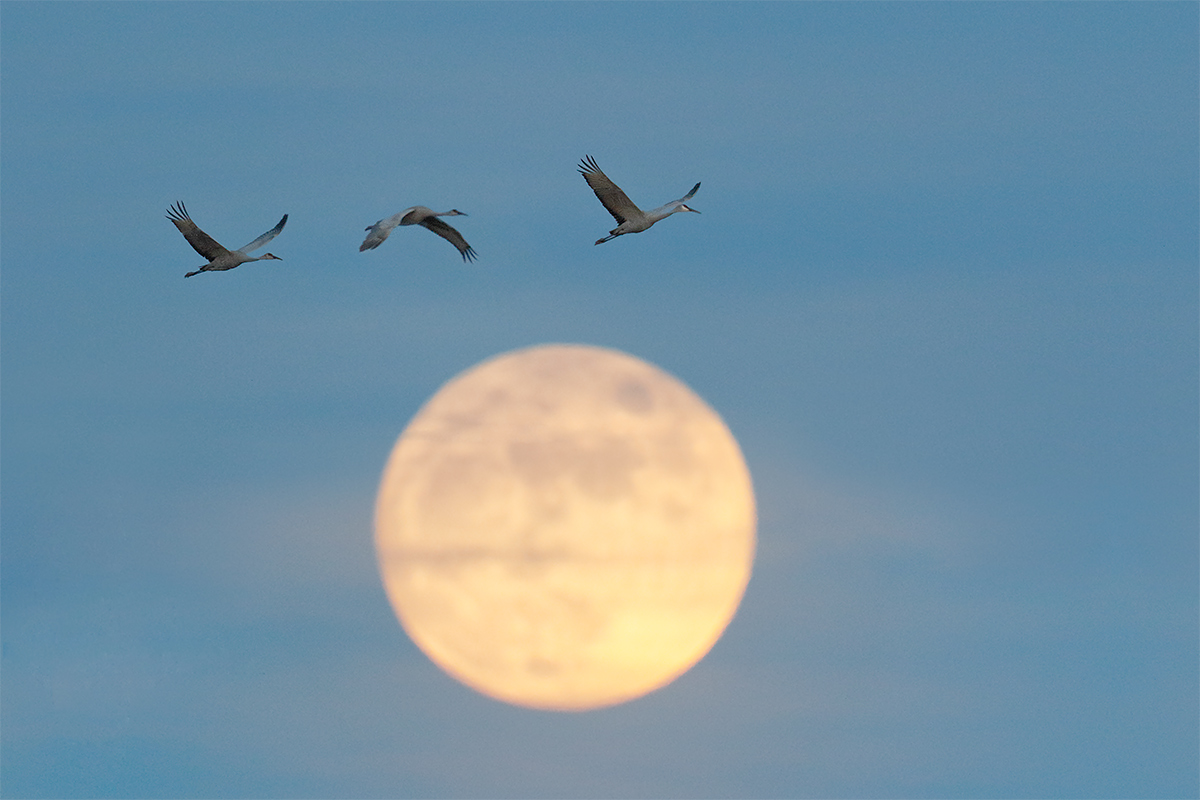
The three-frame composite. |
The Creation of the Optimized Three-frame Composite
Of the two-frame sequence, I liked the first image best because of the wing positions of the first and last birds. I added canvas left, right and below using the love handles on the Crop Tool (C). Then I used the Rectangular Marquee Tool to select the bottom half of the moon along with the accompanying sky from the moon shot. I dragged that onto the first image using the Move Tool (V). Then I positioned the moon with the Move Tool (V). Tip: you can use the left/right or up/down arrows for polite placement of a layer.
I was obvious that there was a tonality mis-match due to the two different exposures. I lightened the bottom of the moon layer using Curves on a Layer (Control + M). As I was panning with the birds I needed to add some sky left and right. I did that after flopping the selections made with the Rectangular Marquee Tool. Hint: use the Transform Tool (Command + T) to flop the selection on its own layer. I added a Regular Layer Mask and painted away most of the remaining seam lines. Then I merged the layers (Command + E) and enlarged the image to 100%. I started in the upper left corner and worked from side to side and then down to dust spot the image and to eliminate any additional seam lines. I used the Spot Healing Brush (my keyboard shortcut J) for the former and the Patch Tool (my keyboard shortcut P) for to smooth the latter.
Then I decided that I did not like the wing position of the middle bird. I wanted to replace the middle bird in the first image with the front bird from the second frame but I was outvoted by the Canon Destination Workshop folks most of whom liked the middle bird from the second image as the replacement bird. Before grabbing that bird I used a large Patch Tool (P) to eliminate the middle bird. Then I painted a Quick Mask (Q, B, Q) of the middle bird from the 2nd image with some surrounding sky, placed it on its own layer (Command + J), dragged it roughly into position with the Move Tool (V). I adjusted the tonality of that layer (Control + M) to match the sky in the bird’s new location and then fine-tuned that layer by adding a Regular Layer Mask.
Next I juiced up the sky color with Vibrance, Saturation (of the MAGENTAs), and Selective Color adjustments. Then I selected the three cranes using the Quick Selection Tool (M) and placed them on their own layer. First I decreased the Saturation (Command + U) of the bird layer to get the MAGENTA out), pulled the Curve up a bit to lighten the birds, and applied a Layer of Detail Extractor in NIK Color Efex Pro reveal some additional detail.
That was about it.
Just for the record books…
The file name for the optimized image, “Sandhill Cranes and moon–3-frame composite _Y8A0970 Bosque del Apache NWR, San Antonio, NM.tif” lets editors know what they are dealing with. My intent is always to avoid deception and to let folks know exactly how an image was created.
Digital Basics
Everything that I did to optimize today’s image is covered in detail in my Digital Basics File–written in my easy-to-follow, easy-to-understand style. Are you tired of making your images look worse in Photoshop? Digital Basics File is an instructional PDF that is sent via e-mail. It includes my complete digital workflow, dozens of great Photoshop tips (including the Surface Blur settings that I used to smooth out the noise in the ISO 6400 image as taught to me by Denise Ippolito), details on using all of my image clean-up tools, the use of Contrast Masks, several different ways of expanding and filling in canvas, all of my time-saving Keyboard Shortcuts, Quick Masking, Layer Masking, working with color and contrast, and NIK Color Efex Pro basics, Contrast Masks, Digital Eye Doctor techniques, using Gaussian Blurs, Tim Grey Dodge and Burn, a variety of ways to make selections, how to create time-saving actions, and tons more.
APTATS I & II
Learn the details of advanced Quick Masking techniques in APTATS I. Learn Advanced Layer Masking Techniques in APTATS II. Mention this blog post and apply a $5 discount to either with phone orders only. Buy both APTATS I and APTATS II and we will be glad to apply at $15 discount with phone orders only. Please call Jim or Jennifer at 863-692-0906 weekdays to order.
The Bosque Site Guide
All BAA Site Guides are designed so that with a bit of study you can show up at a great place and know exactly where to be at what time on what wind and in what lighting conditions. With a Site Guide on your laptop you will feel like a 20-year veteran even on your first visit. Site Guides are the next best thing to being on an IPT. If you plan on visiting the refuge it would be foolish to make the trip without having this guide in hand. Why spend money on gear and travel and then spend days stumbling around in the wrong spots? If you have visited previously, and are still unsure of where you should be at this time of day with that wind, this guide will prove invaluable to you as well.
You can order yours here or check out all of our site guides here.
Canon Telephoto Lens Specifications, Info, and Links; Bookmark This Page!
I have added the 100-400II to the chart here. Bookmark this page and consult it often as it makes comparing different lenses an easy chore. The chart includes weight in both pounds and kilograms, MFDs in feet and inches and in meters, magnification, filter size, and the year of introduction.
Selling Your Used Photo Gear Through BIRDS AS ART
Selling your used (or like-new) photo gear through the BAA Blog or via a BAA Online Bulletin is a great idea. We charge only a 5% commission. One of the more popular used gear for sale sites charges a minimum of 20% plus assorted fees! Yikes. The minimum item price here is $500 (or less for a $25 fee). If you are interested please e-mail with the words Items for Sale Info Request cut and pasted into the Subject line :). Stuff that is priced fairly–I offer free pricing advice, usually sells in no time flat. In the past few months, we have sold just about everything in sight.
You can see all the current listings here. There are several new items listed and several with reduced prices.
IPT Updates
Would you like to visit some of the great bird photography locations on the planet? Would you like to learn from the best? Click here and join us.
|
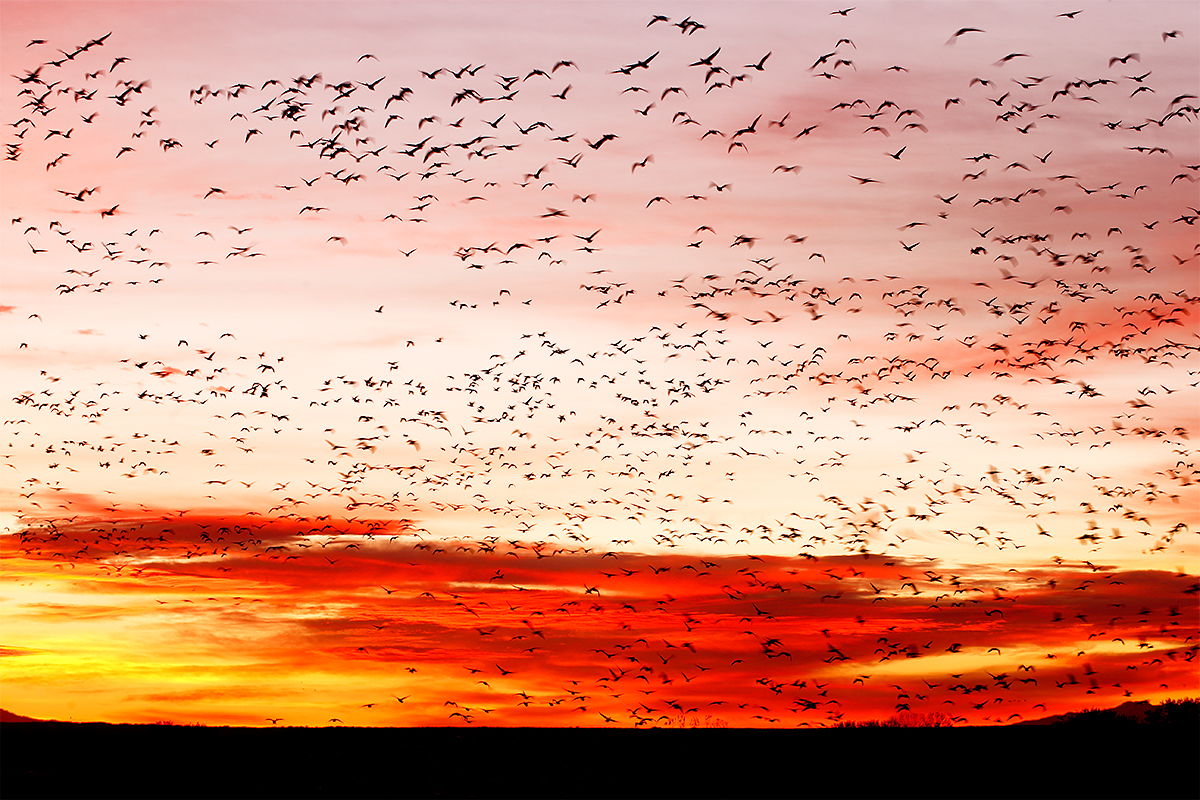
This image was created at 6:39am on December 2, the third morning of this year’s 4-day Bosque IPT. I used the hand held Canon EF 70-200mm f/2.8L IS II lens with the Canon Extender EF 1.4X III (at 140mm) and the Canon EOS-1D X. ISO 160. Evaluative metering + 2/3 stop as framed: 1/30 sec. at f/7.1 in Tv mode. Cloudy White Balance. Central sensor/AI Servo Surround/Rear Focus AF as originally framed was active at the moment of exposure. Click here if you missed the Rear Focus Tutorial. Be sure to click on the image to see a larger version. |
The Blog is the Bomb!
After 366 days with a new educational blog post, I opted to take a day off last week. The blog has been filled with lots of great Bosque images like the one above, lots of great Bosque news and status reports, and lots of photographic tips and techniques. And lots of 7D II images as well.
Check out “The Canon 70-200mm f/2.8L IS does fire and ice at Bosque” blog post here.
I saw a Mountain Lion at the refuge above six years ago. Just one. Once. This year my luck with big cats changed…. Learn about my experience in this blog post: “Incredible luck: photographing a Big Cat from my vehicle at Bosque.”
Those who love creating pleasing blurs at Bosque will enjoy the “To pan or not to pan? That is the question.” blog post here.
See the “Red Bosque Sunrise” image and learn why I went with an 8-second exposure when I could have worked with a lot faster shutter speed in the blog post and comments here.
I have posted lots of 7D Mark II images from Bosque. Probably the most spectacular of those can be seen in the “Canon EOS 7D Mark II Rocks Bosque: Pink is but a shade of red…” blog post here.
Though there have been lots more Bosque-related blog posts over the past 3+ weeks, you will not want to miss this one: “The State of the Bosque/A Free Bosque Site Guide Update for All.”
|
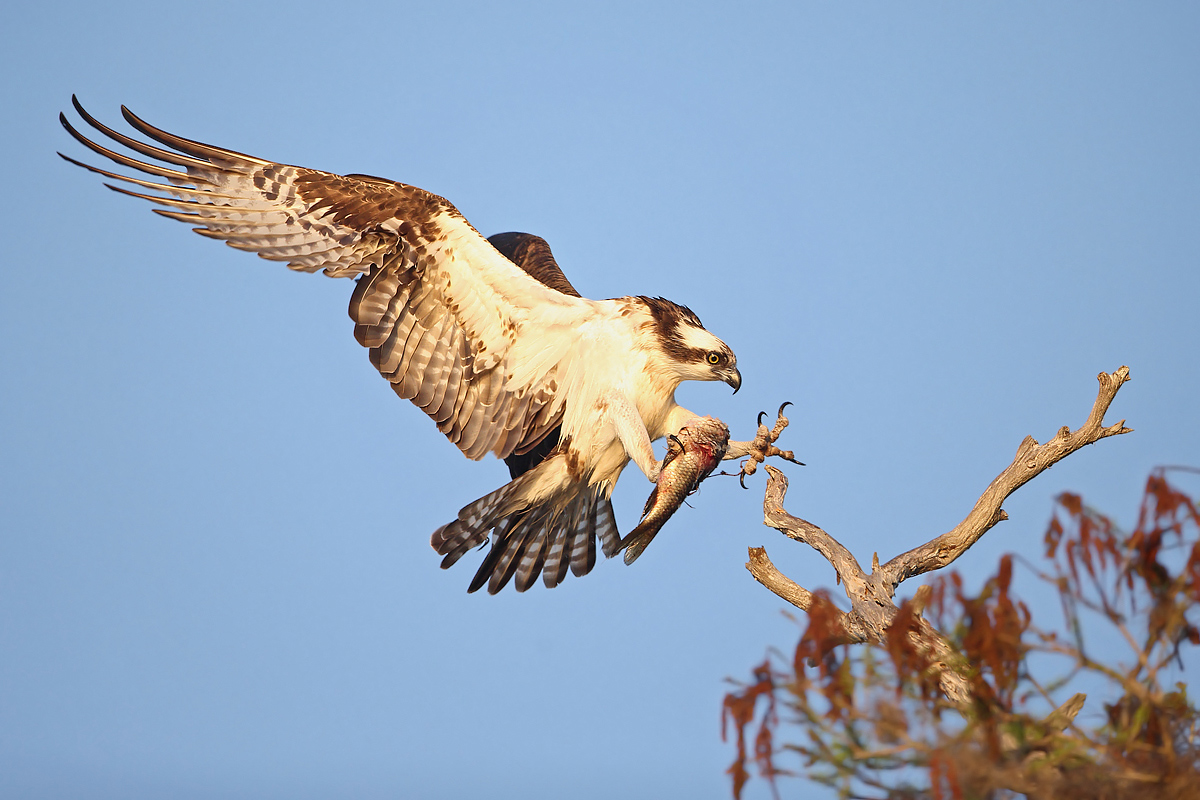
Osprey landing with fish. Image copyright 2013: Jim Neiger/Flight School Photography |
Jim Neiger’s Osprey Heaven Workshops 2015
Lake Blue Cypress (Vero Beach), Florida
Flight School Photography returns to Lake Blue Cypress for the sixth year and will be featuring three, five day workshops in spring, 2015. The workshops will be conducted by expert bird photographer Jim Neiger, who knows the lake and surrounding area like no-one else. Jim has spent the past several years perfecting his unique techniques for photographing birds in flight using large telephoto lenses, hand held. The focus of these workshops will be learning Jim’s hand held, long lens techniques for photographing birds in flight and in other action. The workshops will be held in some of the most beautiful, wild, and unspoiled wilderness areas of central Florida.
Each workshop will include a four hour classroom session, welcome dinner, four morning photography sessions, and three afternoon photography sessions. Each photography session will be of three to four hours in duration. Five of the photography sessions will be conducted via a specially configured pontoon boat that has been customized for photography from the water (weather permitting). The remaining photography sessions will be land based sessions in the field. The workshops will be limited to five participants so that everyone may photograph in comfort and receive personalized instruction.
The photography sessions by boat will be held on the unspoiled and unparalleled Lake Blue Cypress. This spectacularly beautiful lake is virtually free of civilization and man made elements. The lake is surrounded by ancient cypress swamp and marshy wetlands. Here, the gorgeous cypress trees grow from the lake bottom, surrounded on all sides by water. Osprey nest by the hundreds in these trees, and participants will be able to photograph them as the fly to and fro, dive for fish, gather nesting materials, and feed their young chicks. Some of the nests are actually at or below eye level when standing in the boat. The only distractions in this pristine, wilderness environment are the constant cries of the Osprey as they frolic in the air and defend their nests from other birds.
|
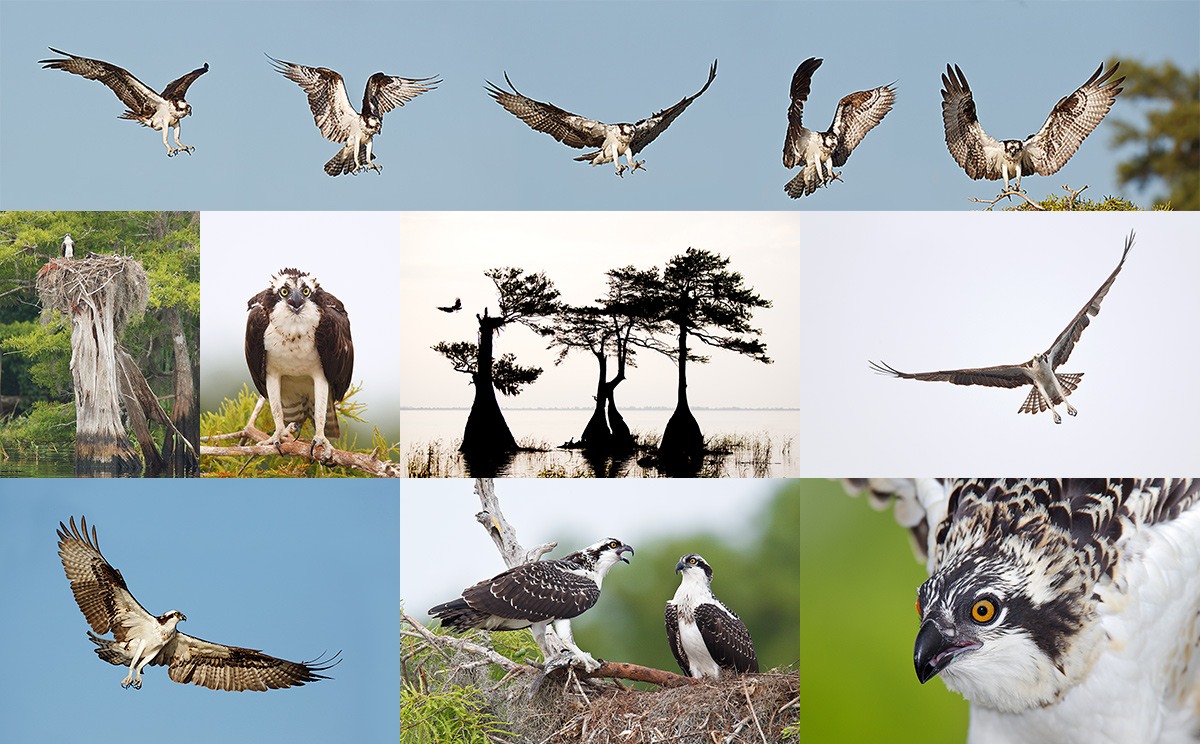
These are artie’s images from Lake Blue Cypress trips with Jim Neiger. |
Lake Blue Cypress is also a landscape photographers dream. The horizons contain nothing of man’s influence and only the beauty of the real Florida wilderness. Perches and backgrounds are spectacular beyond belief. April and May are the best months to be at Lake Blue Cypress. Many of the birds are actively nesting and rearing their young during this time. Wildflowers cover the stumps and trees like blankets of radiant color. The skies glow with spectacular, multi-hued sunrises and sunsets. Hundreds of different species of birds are possible including the typical Florida waders and water fowl. Large Alligators are commonly seen sunning themselves on top of the fallen trees and stumps amidst the colorful wildflowers. The biggest problem for a photographer here is deciding which subject to photograph. Even the weather cooperates at this time of year. It is the dry season and clear, sunny days are the most common weather condition.
The photography sessions on land will be held in remote areas of southern Osceola County. Here, participants are likely to have opportunities to photograph birds that are endangered and rarely seen. Possible species include: Whooping Crane, Swallow-tailed Kite, Great Horned Owl, Barred Owl, and Red-Shouldered Hawk among others. Sandhill Cranes, a common bird in Central Florida, are tame enough to approach as closely as you like. Participants will also learn how to safely use bird song recordings to attract birds. Jim has developed his own, innovative techniques for using recordings to attract birds, in such a way, that amazing photographic opportunities are common when they would be almost impossible otherwise. This includes special techniques that encourage birds to fly and land as desired; this can provide spectacular opportunities for both flight and perched images (with the perches being selected for their beauty).
Jim consistently produces amazing flight images. His imagination and dedication have resulted in his developing many new techniques, techniques that can only be learned from Jim. His Flight School Photography Workshops are a must for any serious nature photographer.
|
|
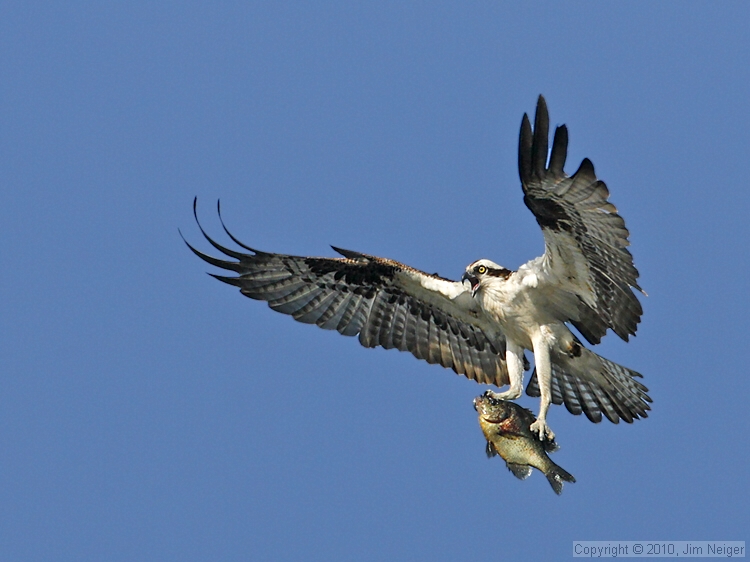
Osprey landing with bream. Image copyright 2013: Jim Neiger/Flight School Photography |
Workshop Dates
Workshop LBC-1: March 16-20, 2015
Workshop LBC-2: April 13-17, 2015
Workshop LBC-2: April 20-24, 2015
Workshop Costs and Payment
The cost of each workshop is $1750 per person. Each workshop includes a four hour formal classroom instruction session, a welcome dinner, 4 morning photography sessions, and 3 afternoon photography sessions. The photography sessions include personalized instruction in the field. Each participant will receive a copy of Jim’s e-book “Flight Plan – How to Photograph Birds in Flight” when they sign up for the workshop. Discounted lodging is available, but is not included in the workshop fee. A $875 non-refundable deposit is required to reserve a spot in a workshop. The remaining $875 is due 30 days before the start date of the workshop. If you are unable to attend the workshop, after paying the balance, the balance payment will be refunded ONLY if your spot can be filled, on short notice, from the waiting list. All workshop payments must be made by check or money order. Credit cards are not accepted.
Participant Requirements
Participants should have working knowledge of how to create a properly exposed image, a telephoto lens of 400mm or more (300mm with a teleconverter is acceptable), and be physically capable of holding their camera and lens up to their eye in shooting position for at least 20 seconds. Participants must also have a vehicle to travel to and from the photography locations.
Lodging and Logistics
Workshop participants who require lodging during the workshop should stay at the hotel in Vero Beach where the classroom sessions will be conducted. Participants arriving via air arrive at the Orlando International Airport, which is the closest major airport to Vero Beach. Rental vehicles are available at the airport. Flight School Photography will assist participants with arranging the sharing of vehicles and/or lodging if desired. Detailed information will be provided when you sign up for the workshop or upon request. Lodging, transportation, and meals (except for welcome dinner) are not included.
Learn more here. View Jim’s incredible image gallery here. And see some of artie’s images here.
|
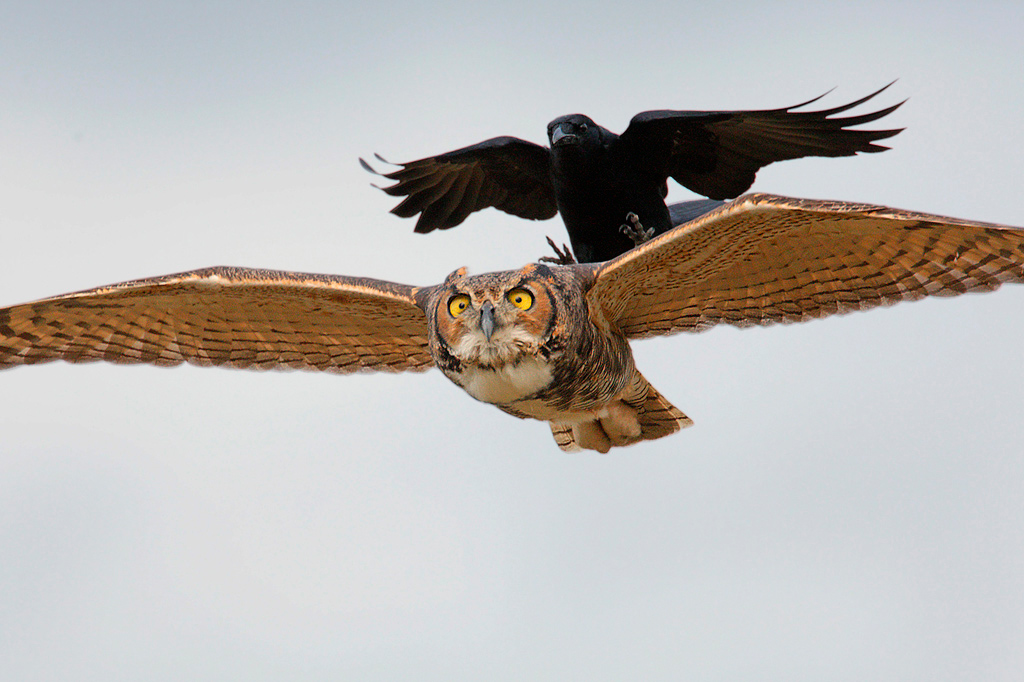
Great Horned Owl being harassed by Fish Crow. BBC Honored image copyright: Jim Neiger/Flight School Photography |
Flight School Custom Anytime Workshops
Flight School Photography offers private, customized workshops, September thru May, in some of the most beautiful, wild, and unspoiled areas of central Florida. Your instructor and guide, Jim Neiger, has spent several years observing, studying, and photographing the varied birds near his home in central Florida and knows this avian rich area like no one else. If you prefer, Jim will travel to a location selected by you to provide personal instruction.
These individual or small group workshops are tailored exclusively to the participants’ interests, goals, and schedule. Workshops are conducted by boat, on land, or a combination of both. Personalized instruction lets you make the most of your time. The workshops can range from a single half-day workshop to multi-day or week-long workshops. Snacks and drinks are provided during every workshop session.
You have the following options: scheduling a private, individual custom workshop; putting together a small group of photographers for a customized workshop; or having Jim travel to your location to provide a custom workshop. You can also choose the species you wish to focus on and/or the topics you would like to learn more about. Jim’s experience in the central Florida area allows him to locate the most sought after species in settings and conditions that are optimal for photography.
Custom Workshops by Boat
Jim’s pontoon boat was purchased and customized specifically for use during photography workshops. It is roomy, comfortable, and stable. The boat is equipped with an extremely quiet, four-stroke motor for silent cruising. It also has a powerful, silent, electric trolling motor with wireless remote control. This allows Jim to position the boat precisely and silently. The boat has a capacity of twelve people, but Jim limits the number of participants to five or less so that everyone has room to photograph in comfort. The boat can be configured with no top, a half canopy to provide shelter from sun and rain, or with a half enclosure that can completely protect participants from the elements. Using the boat allows close access to some of the most difficult and desirable subjects in North America. Many of the images of these subjects in their wetland habitat would not be possible from land.
Custom Workshops on Land
Land-based sessions are held in a number of wild and remote locations of central Florida. Jim has spent several years learning the out-of-the-way wilderness areas in the region. He has also written a best selling guide to photographing birds in central Florida. The variety of birds in the area is astounding, and Jim knows where to find them and how best to photograph them. Participants will need to provide their own vehicle for the land-based workshops, unless there is only 1 photographer.
Both land and boat workshops are likely to provide participants with opportunities to photograph birds that are uncommon and rarely seen. Possible subjects include: Crested Caracara, Sandhill Cranes, Whooping Cranes, Barred and Great Horned Owls, Bald Eagles, Osprey, Snail Kites, Red-Shouldered Hawks, Red Cockaded Woodpeckers, Pileated Woodpeckers, Limpkins, Ibis, Wood Storks, Purple Gallinules, various wading birds, warblers, sparrows, and many others too numerous to list.
Custom Workshop Instruction
Custom workshops may also include personalized, in-the-field instruction; formal classroom instruction; or an introductory slide presentation, if desired. Topics may include instruction devoted to learning or practicing:
· Jim’s unique handheld techniques for photographing birds in flight using long telephoto lenses.
· Jim’s unique techniques for using recordings safely to attract and photograph birds successfully
· Making proper exposures working in manual exposure mode
· Other nature photography topics of your choice
Learn more about Jim’s Flight School Custom Anytime Workshops here. See the spectacular image gallery here. See the custom workshop rates here.
Contact Information
Contact Information: Jim Neiger, Flight School Photography, Inc. 550 Basin Drive, Kissimmee, FL 34744-4804
Cell phone: (407) 247-5200. e-mail.
Flight School website.
|
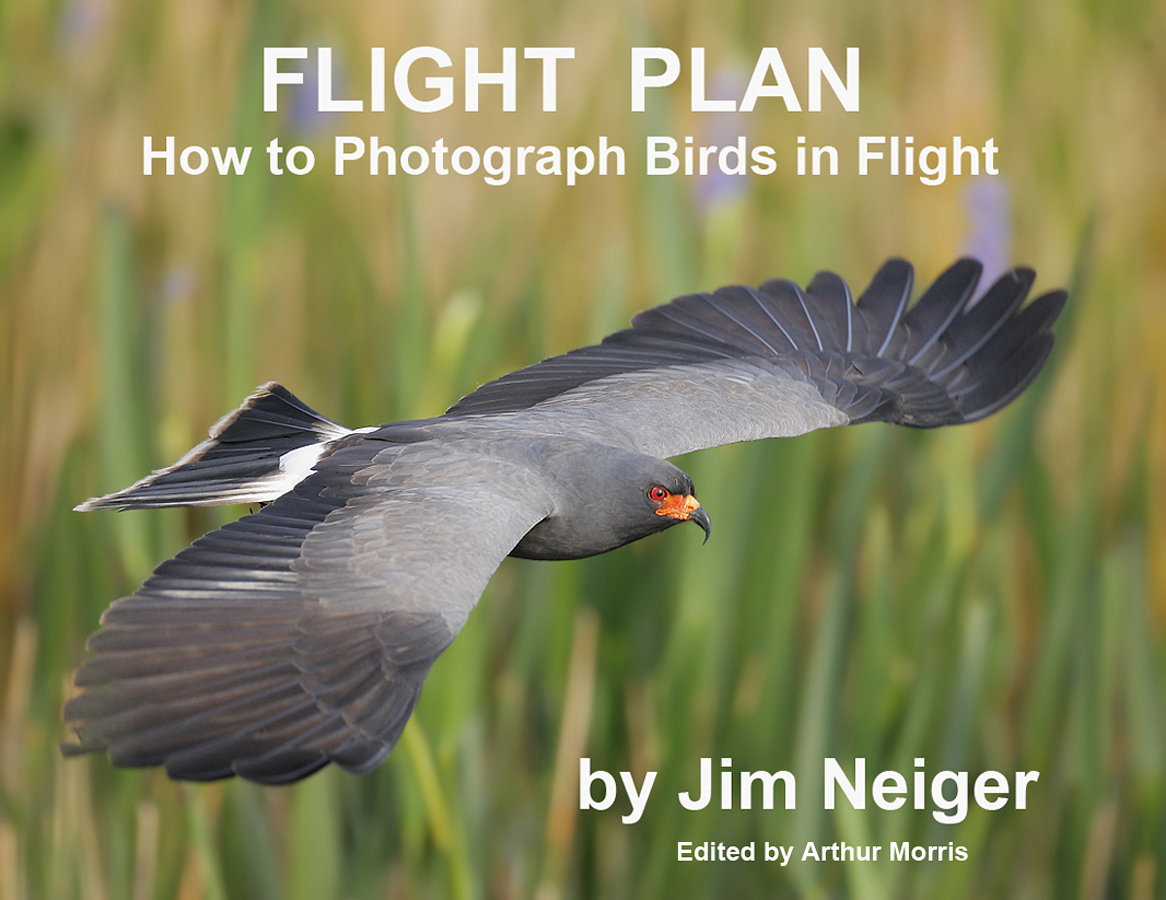
Flight Plan
I can say without a doubt that after spending more than two months (part time) editing Jim Neiger’s great e-Guide, Flight Plan, that my flight photography has improved by leaps and bound whether I am working off a tripod or hand holding. His explanation of the bumping the focus technique finally sunk in. Learning to use this technique regularly is a huge help for any all types of flight photography.
You can learn more about Flight Plan here or order a copy by clicking here.
Bob Hollowell’s Flight Plan Comments
I just wanted to send kudos to both you and Jim Neiger for the excellent E-book that you referenced in a recent BAA blog post. I immediately purchased a copy, and have finished my first read and will now read it a second time just to make sure I’m ready to take it to the field. My favorite haunt is Squaw Creek NWLR and I’ve stumbled & fumbled with flight photos using both tripod & monopod as support for my Canon 7D, and just can’t seem to come up with real sharp photos using that method. Jim’s text is well written, and really puts flight photography in a whole new perspective for me. I’m 76 years old, and I’m sure I’ll have to experiment with the handholding methodology a bit, but I’m excited at the prospect of applying Jim’s methods.
Thanks again… Bob H.
Canon EF 100-400mm f/4.5-5.6L IS II USM Lens
My take on this new lens…
B&H begins shipping this Friday, 12/12/2014!
I wish that I had one for my Southern Oceans trip….
The new 1-4 is a twist zoom. Zillions of folks complained about the dust that was sucked into the lens and visible when you looked through the lens from the front element of the original 100-400 despite the fact that such dust never affected a single image. This new lens will surely be sharper than the original that was well sharper than most photographers. That said most folks including me find a twist zoom more convenient than a push-pull zoom. Both Denise Ippolito and I used and loved our 100-400s with great success over many years. Denise still owns and uses hers. I sold mine a few years back and replaced it with the Canon EF 70-200mm f/2.8L IS II USM lens.
Though the new lens is about 1/2 pound heavier than the original version it will be easily hand holdable by most folks. It focuses much closer than the original 1-4, down to 3.2 feet or 97.54cm according to the recently published specs. This is a huge improvement in MFD that was 6.6 feet or 2 meters for the original> It turns this already versatile lens into a more than decent quasi-macro lens for flowers, butterflies, frogs, and other relatively small to medium-sized natural history subjects, all the while providing the narrow angle of view at 400mm that I love.
In short I cannot wait to get my hands on this one….
You can learn more about the new 100-400 II in the recent blog here.
Used Canon EF 100-400 f 4.5-5.6 L IS Lens
Lowest price ever for this item!
Barry Mansell is offering a used Canon EF 100-400 f 4.5-5.6 L IS lens in excellent condition for $949 including insured shipping via UPS Ground to US addresses only. The plastic lens hood has a very few light scratches. The sale includes the original tough fabric case, the front and rear caps, and the lens hood. Your gear will be shipped only after your check clears.
Please contact Barry via e-mail, by phone at 904-388-8675, or on his cell at 904-655-0022. Eastern Time Zone.
The 100-400 is a versatile intermediate telephoto zoom lens with 1,000+ uses. It makes a great starter lens especially for folks who do general nature and wildlife in addition to birds. I’ve sold 100s of images made with a 1-4 and denise loved hers for many years forsaking it only recently for the Canon EF 70-200mm f/2.8L IS II USM lens. Barry’s 100-400 is priced to sell.
Be sure to like and follow BAA on Facebook by clicking on the logo link upper right. Tanks a stack!
Support the BAA Blog. Support the BAA Bulletins: Shop B&H here!
We want and need to keep providing you with the latest free information, photography and Photoshop lessons, and all manner of related information. Show your appreciation by making your purchases immediately after clicking on any of our B&H or Amazon Affiliate links in this blog post. Remember, B&H ain’t just photography!
Amazon.com
Those who prefer to support BAA by shopping with Amazon may use this link:
Amazon Canada
Many kind folks from north of the border, eh, have e-mailed stating that they would love to help us out by using one of our affiliate links but that living in Canada and doing so presents numerous problems. Now, they can help us out by using our Amazon Canada affiliate link by starting their searches by clicking here. Many thanks to those who have written.
Typos
In all blog posts and Bulletins, feel free to e-mail or to leave a comment regarding any typos or errors. Just be right :).
Have a wonderful time on your southern seas trip! I’m headed out on the Cheesemans’ South Georgia Albatross trip in January. I have had a difficult time trying to decide whether to bring a lens greater than my 70-200mm. (plus a 2x) Based on your enthusiasm, I have reserved the new Canon EF 100-400mm f/4.5-5.6L IS II USM Lens from Borrow Lens for the trip (via your link). I also just re-read Jim Neiger’s Flight Plan ebook, and am looking forward to using his methods for the long ship ride from the Falklands to South Georgia. Thanks for your blog and bulletin Artie!
Thanks and YAW. Have a great trip. Hope that you used our B&H affiliate link. artie
Exposure Change Question: Since the moon was framed more in the middle of the third frame, the larger area of the moon (which was brighter than the surrounding sky) covered more of the center of the metering area, which made the shutter speed 1/640 compared to 1/500 of the framed crane shot. In the shots with the cranes, the framing of the shot (i.e. less of the bright moon) cut off part of the moon, thus less of the bright moon did not cover as much of the metered area in those frames, thus a lower shutter speed since the meter deduced that the image was “darker” due to less moon in the metered area, than the third frame.
Both bingo and correct. artaie